I was inspired to make my own Wooden Orchid Box, so I used Cultivating Life’s Cedar Orchid Box as inspiration.
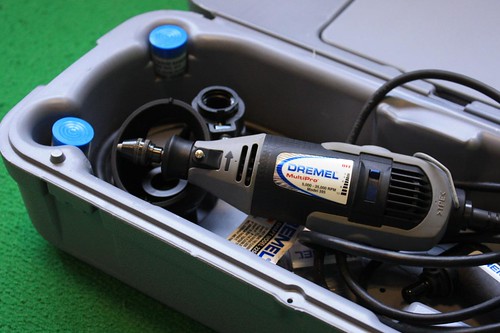
Yesterday, I borrowed my boss’ Dremel drill.
I collected the tools and materials I needed to create my DIY Wooden Orchid Box.
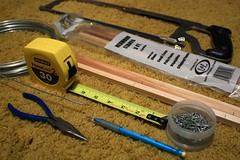
– Redwood Stakes (these were 3ft. stakes)
– Saw
– Tape measure
– Small nails
– Pencil/Marker
– Long-nosed pliers
– Galvantized wire
– Dremel (with drill bit)
– Scrap wood (to drill through)
1. I first cut the Redwood Stakes into 3 inch strips.
2. I then took one of the strips and drilled a hole on each side. Using this as a template, I drilled the other strips. The lengths of the strips can vary a bit, but since the holes have to line up, it’s important to use the first drilled strip as a template.

3. I then cut some galvantized metal wire, straightened it and made a hook on one side.

4. Slide the wire through the holes on the strips.
I was originally going to make a square, but then decided I wanted something rounder, but I didn’t want to make an octagon… so I made a hexagon shape.
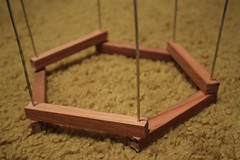
This is how the hook looked under the strips. I think I will modify this and bend the wire end more to create a loop.
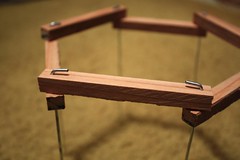
5. Keep adding strip in an alternating pattern (see photo below).
I’m still figuring out if I like this shape or if I want to revert back to a square shape. If I stick with a hexagon shape, I need to figure out how to make the bottom… I’ll do that later.

…to be continued…


