I realized that I posted some information about winter sowing in previous entries:
http://www.joeysplanting.com/2010/02/04/winter-sowing/
http://www.joeysplanting.com/2010/02/03/milk-carton-gathering/
…but never posted instructions on how I did them… so here I go:
I first marked where I wanted to cut the bottles and milk cartons using a Sharpie permanent marker…
To make this easier for me, I cut a strip of cardboard 2.5 inches tall, aligned the cardboard and bottle on the ground, then traced along the top edge of the cardboard with the Sharpie onto the bottle…
then I carefully cut along the line.
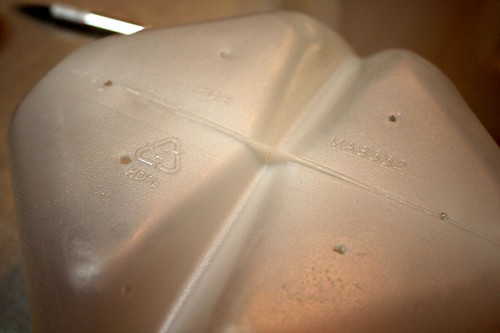
I then poked holes in the bottoms to let excess water flow through the container.
A friend on Flickr suggested that I also put additional hole on the sides to allow better drainage, especially if these sit on a flat surface .
I created vent holes on my first container, but later ommitted this step and just left the top off the bottle.
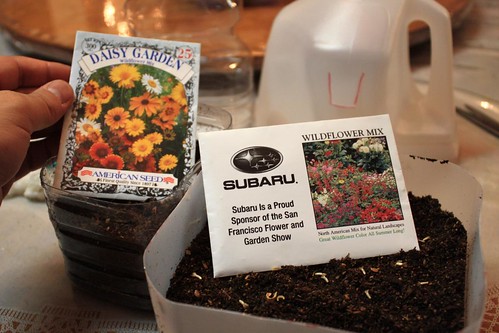
Added some potting soil to about 2 inches and sowed some seeds. For my first two winter sowing container, I planted Daisy Garden Wildflower Mix and a Wildflower Mix I got free from Subaru (at the SF Flower and Garden Show).
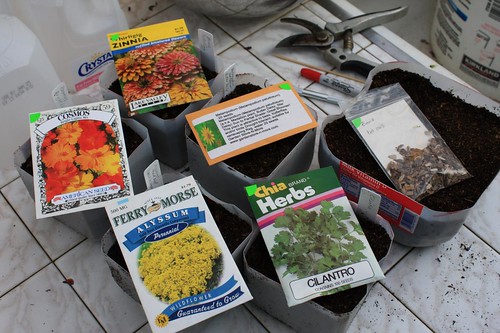
For my second batch, I sowed: Zinnia ‘Whirligig’ Cosmos ‘Bright Lights Mix’ Alyssum ‘Gold Dust’ Melampodium (Butter Daisy), Cilantro Zinnia (Fall 2005).
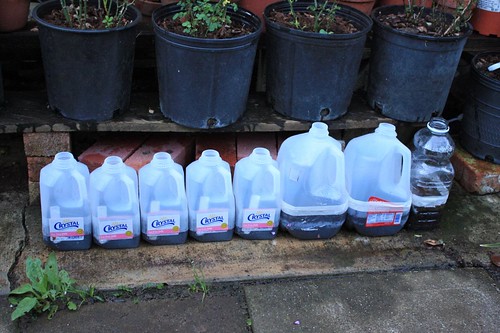
Here they are all lined up in our backyard.


